Ok, as promised, here is the how-to on the foot warmer inserts. I didn't do pictures with this one, as it is fairly simple. If anyone wants pictures, let me know, and I will gladly take some.
What you'll need:
4 7"x14" pieces of muslin
2 lbs of rice
A wide mouth funnel(this makes transferring the rice into the bag really easy, but you don't have to have this)
Place two pieces of muslin right sides together, and sew 1/4" - 1/2" away from edge on the two long sides, and one of the short sides. Turn right side out, and press down the opening about 1/4"-1/2". This will make sewing it shut a lot easier!
Pour 1 lb of rice into the bag and shake it all to the bottom. Sew opening closed.
Repeat with remaining muslin and rice. These should fit nicely into the pockets of your foot warmer cover.

Monday, November 22, 2010
Saturday, November 20, 2010
Rice Pack Foot Warmers tutorial
Ok, my attempt at a second tutorial. Let's hope it's clear and makes sense. I'm writing this on little sleep, so bear with me. :) This is for the cover only, I'll do another tutorial on the rice packs when I make them.
First, you'll need:
2 15"x14" pieces of fleece or other soft material
1 15"x8" piece of fleece or other soft material
17" of bias tape, matching or contrasting

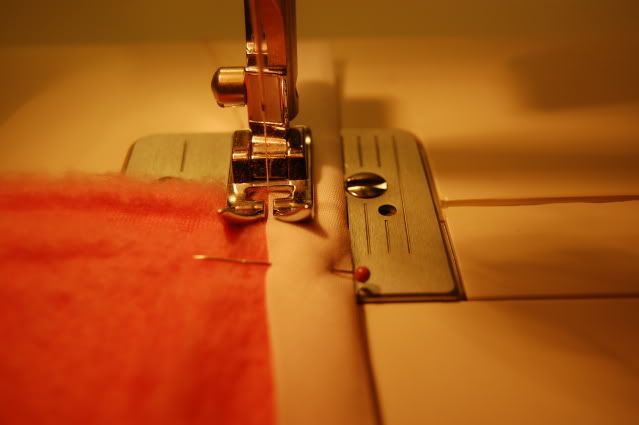
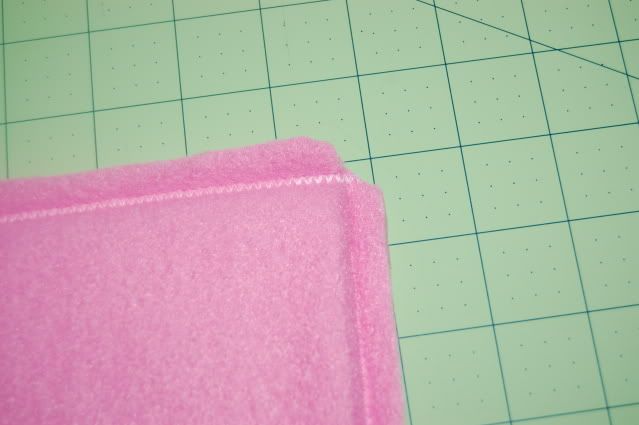
Zig zag stitch along the edge, making sure to catch both sides of the bias tape.
Set aside, and grab one of the 15"x14" pieces. Pin up a hem of 1" along one of the longer sides. Sew using straight or zig-zag. You don't have to add a hem here if using fleece or another material that won't fray. I just do, because these were gifts.
Do the same for the other piece.
Next, stack the layers in this order:
15x14 piece right side up
15x8 piece right side down
15x14 piece right side down
Line up the hems and stitch around the 2 sides, and top using a 1/2" seam allowance or larger. I used approximately an inch on this one. You can also serge the edges if you have one. I do, but for this tutorial's sake, I didn't use it.
Then, trim close to the stitching, and clip your corners.
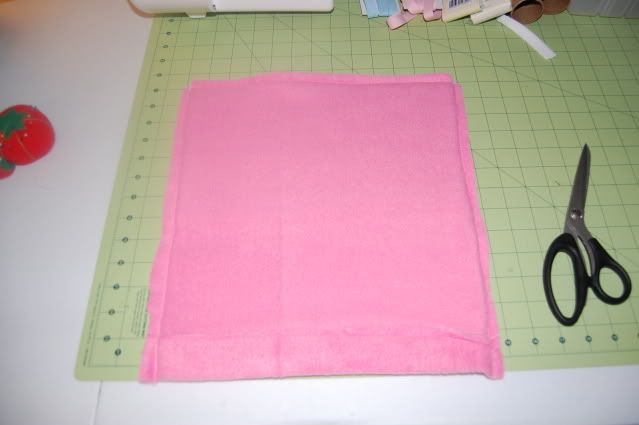
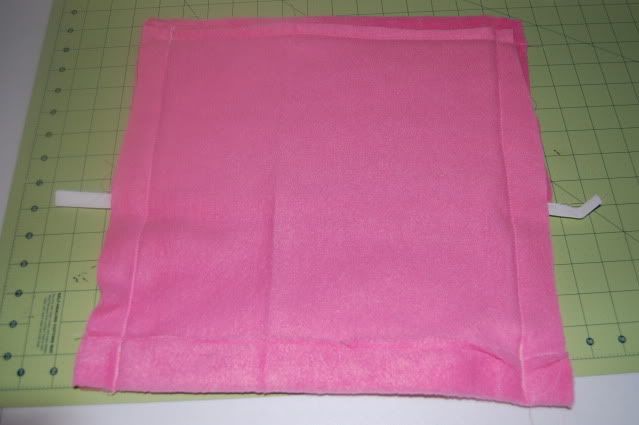
Turn right side out. It should now look something like this:

Fold in half lengthwise, and mark the center. Set machine to straight stitch, and sew through all layer down the middle. You'll create two pockets for the rice packs.
Finished:

Hope you can follow that easily enough, and if not, feel free to ask any questions! You can also make them different sizes, depending on how big/small the person's feet is.
Also, this is my own design so please just give credit where credit is due. That is all. :)
First, you'll need:
2 15"x14" pieces of fleece or other soft material
1 15"x8" piece of fleece or other soft material
17" of bias tape, matching or contrasting
(Please ignore the mess that is my craft table. I'm in the middle of a lot of Christmas gifts.)
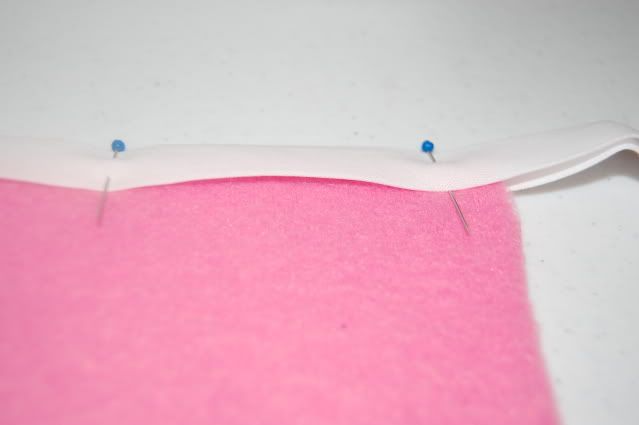
First, pin the bias tape on the long side of the 15"x8" piece of material.
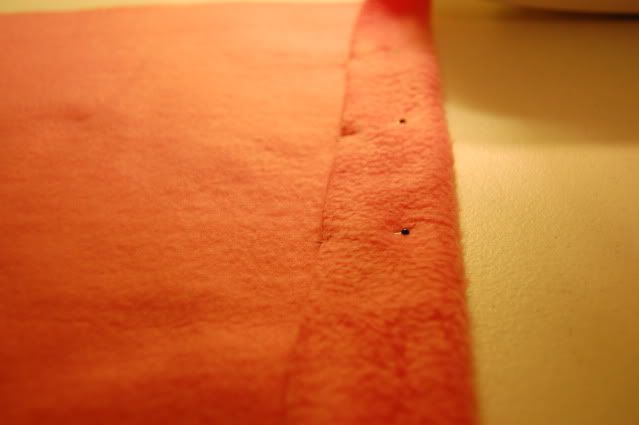
Set aside, and grab one of the 15"x14" pieces. Pin up a hem of 1" along one of the longer sides. Sew using straight or zig-zag. You don't have to add a hem here if using fleece or another material that won't fray. I just do, because these were gifts.
Do the same for the other piece.
Next, stack the layers in this order:
15x14 piece right side up
15x8 piece right side down
15x14 piece right side down
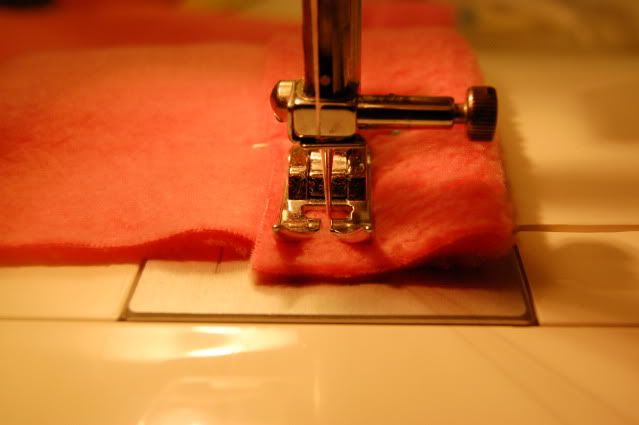
Line up the hems and stitch around the 2 sides, and top using a 1/2" seam allowance or larger. I used approximately an inch on this one. You can also serge the edges if you have one. I do, but for this tutorial's sake, I didn't use it.
Then, trim close to the stitching, and clip your corners.
Turn right side out. It should now look something like this:
Fold in half lengthwise, and mark the center. Set machine to straight stitch, and sew through all layer down the middle. You'll create two pockets for the rice packs.
Finished:
Hope you can follow that easily enough, and if not, feel free to ask any questions! You can also make them different sizes, depending on how big/small the person's feet is.
Also, this is my own design so please just give credit where credit is due. That is all. :)
Friday, November 5, 2010
Crayon roll tutorial
Bear with me, as this is the first sewing tutorial I've ever written, and I'm not the greatest at sewing, especially straight lines. I'll try to be as clear as possible, but if you have any questions, please feel free to comment below.
*deep breath* Here goes nothing!
I was searching around on some crafting blogs, and stumbled upon a tutorial for crayon rolls. What a cute idea I thought, and decided to make some for my nephews for Christmas. However, I wanted to do the jumbo crayons, and could only find a tutorial for the skinny crayons. Another road block was that most tutorials were for 16 count crayons, and I only needed 8. So, I measured my crayons, and went from there.
What you'll need:
2 10"x10" piece of fabric
1 6"x10" piece of fabric
30" of ribbon
1 pack of Jumbo crayons, 8 count.
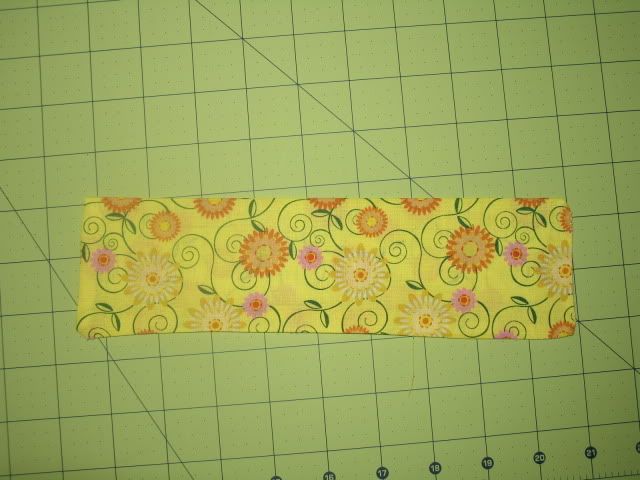
First, cut out the fabric. I used fat quarters for this, since I bought them on clearance at Walmart for $1 a piece.

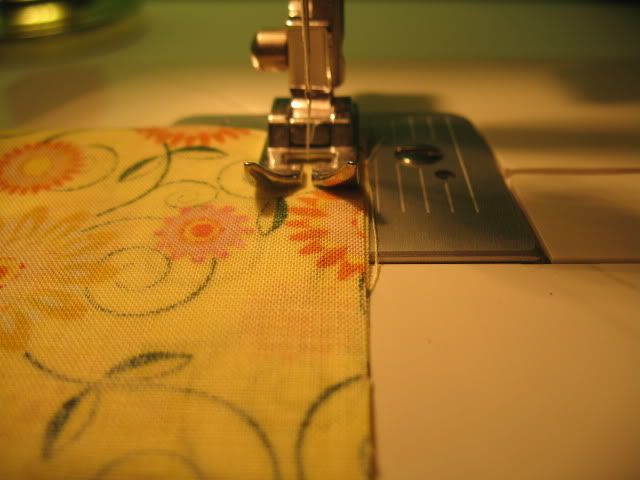
 Pin to one of the 10" by 10" squares on the right side of the fabric with the folded edge towards the top and sew along the edges.


Cut a 30" piece of ribbon, and fold it in half. Mark this point and use it as the spot to attach it to the roll. Attach on the back side of the piece, on the last seam of the crayon pockets.
No picture available yet. I will take one and upload it, as soon as I can.
Insert your crayons, and fold down the top, roll it up, and tie it. :)
Here is a rolled one, but it's a different fabric. It was my first try at making a crayon roll.

I hope this isn't too confusing. I will try my best to answer any questions you may have.
*deep breath* Here goes nothing!
I was searching around on some crafting blogs, and stumbled upon a tutorial for crayon rolls. What a cute idea I thought, and decided to make some for my nephews for Christmas. However, I wanted to do the jumbo crayons, and could only find a tutorial for the skinny crayons. Another road block was that most tutorials were for 16 count crayons, and I only needed 8. So, I measured my crayons, and went from there.
What you'll need:
2 10"x10" piece of fabric
1 6"x10" piece of fabric
30" of ribbon
1 pack of Jumbo crayons, 8 count.
First, cut out the fabric. I used fat quarters for this, since I bought them on clearance at Walmart for $1 a piece.
Fold your 6" piece of fabric in half, length-wise and right sides together, and press. This will form the pocket for the crayons.
I don't know the exact seam allowance on this. I just lined my presser foot up with the edge of the fabric and followed that.
Sew the two short edges together, and along the bottom, leaving an opening for turning. Clip your corners, turn right side out, and press again.
It will be shorter than the 10x10 piece of fabric, so try to get it in the middle. Sew down one short side, across the bottom, and up the other short side. This will close the hole left from turning the pocket.
Lay the other piece of 10"x10" fabric right side down on top of the piece with the pocket. Pin together, and sew around the edges, leaving an opening to turn right side out. Clip corners, turn right side out, and press. Top stitch around the outside starting just above the pocket on one side, and stopping at the top of the pocket on the other side, about 1/4" from the edge.
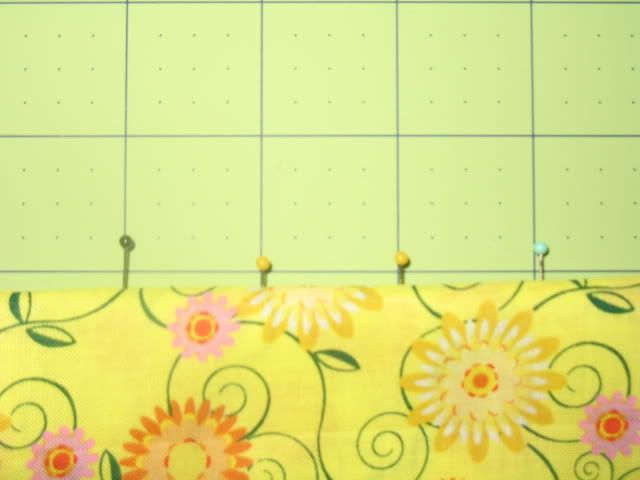
Mark pocket at 1" increments and place a pin at each spot. Sew a straight line from the top of the pocket to the bottom. Repeat until all 8 crayon pockets are created.
Cut a 30" piece of ribbon, and fold it in half. Mark this point and use it as the spot to attach it to the roll. Attach on the back side of the piece, on the last seam of the crayon pockets.
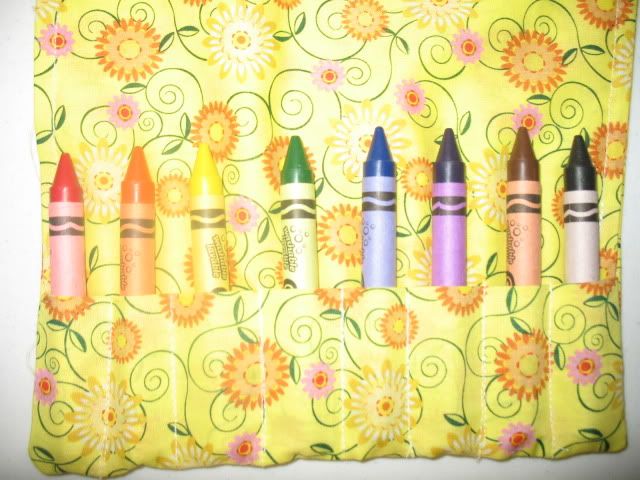
Insert your crayons, and fold down the top, roll it up, and tie it. :)
Here is a rolled one, but it's a different fabric. It was my first try at making a crayon roll.
I hope this isn't too confusing. I will try my best to answer any questions you may have.
Thursday, November 4, 2010
Homemade Apple Butter
Apple butter is a treat around here, and such a family fave! I make some every year, and people always request it. What they don't realize is how easy it is to make.
What you'll need:
3 large jars of unsweetened applesauce
3 cups of sugar
2-3 tablespoons of ground cinnamon
1 teaspoon each of ground nutmeg, ground cloves, and allspice
a large crockpot, mine is 5 quarts.
Combine all ingredients in your crockpot, and stir well to combine. Cook on low overnight, or at least 8 hours, stirring occassionally. Vent lid, and allow to cook another 3-4 hours, or until thickened. Then can and enjoy.
I can by boiling in water. It's really easy too.
Wash all of the jars, lids, and rings, and then boil them for 10 minutes to sterilize them. Fill them up to the bottom of the threads, and then put the lids and rings on and boil the jars for 20 minutes in a large stock pot. Remove from the stockpot, and let cool on the counter. As the jars seal, you'll hear a pop.
Subscribe to:
Posts (Atom)