
*deep breath* Here goes nothing!
I was searching around on some crafting blogs, and stumbled upon a tutorial for crayon rolls. What a cute idea I thought, and decided to make some for my nephews for Christmas. However, I wanted to do the jumbo crayons, and could only find a tutorial for the skinny crayons. Another road block was that most tutorials were for 16 count crayons, and I only needed 8. So, I measured my crayons, and went from there.
What you'll need:
2 10"x10" piece of fabric
1 6"x10" piece of fabric
30" of ribbon
1 pack of Jumbo crayons, 8 count.
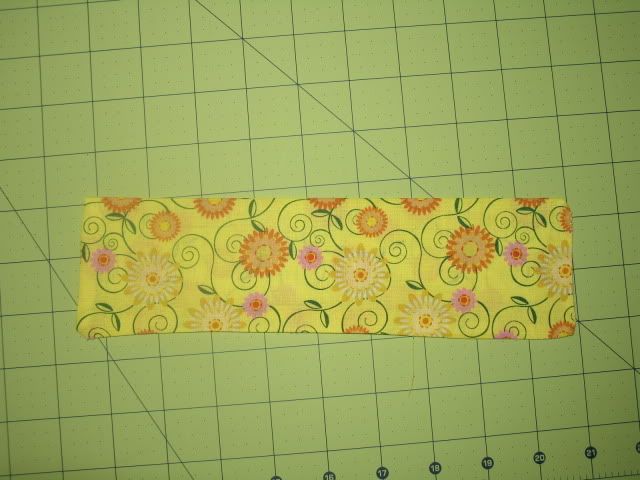
First, cut out the fabric. I used fat quarters for this, since I bought them on clearance at Walmart for $1 a piece.

Fold your 6" piece of fabric in half, length-wise and right sides together, and press. This will form the pocket for the crayons.
I don't know the exact seam allowance on this. I just lined my presser foot up with the edge of the fabric and followed that.
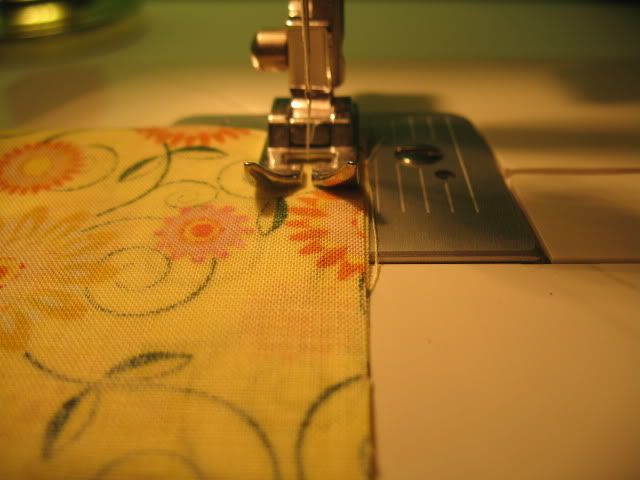
Sew the two short edges together, and along the bottom, leaving an opening for turning. Clip your corners, turn right side out, and press again.
It will be shorter than the 10x10 piece of fabric, so try to get it in the middle. Sew down one short side, across the bottom, and up the other short side. This will close the hole left from turning the pocket.

Lay the other piece of 10"x10" fabric right side down on top of the piece with the pocket. Pin together, and sew around the edges, leaving an opening to turn right side out. Clip corners, turn right side out, and press. Top stitch around the outside starting just above the pocket on one side, and stopping at the top of the pocket on the other side, about 1/4" from the edge.

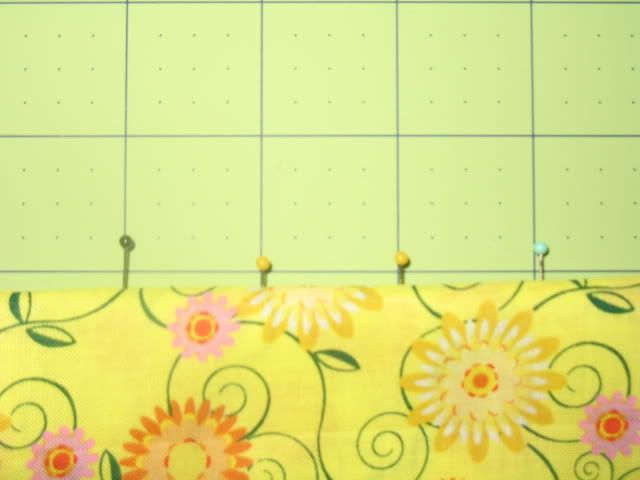
Mark pocket at 1" increments and place a pin at each spot. Sew a straight line from the top of the pocket to the bottom. Repeat until all 8 crayon pockets are created.
Cut a 30" piece of ribbon, and fold it in half. Mark this point and use it as the spot to attach it to the roll. Attach on the back side of the piece, on the last seam of the crayon pockets.
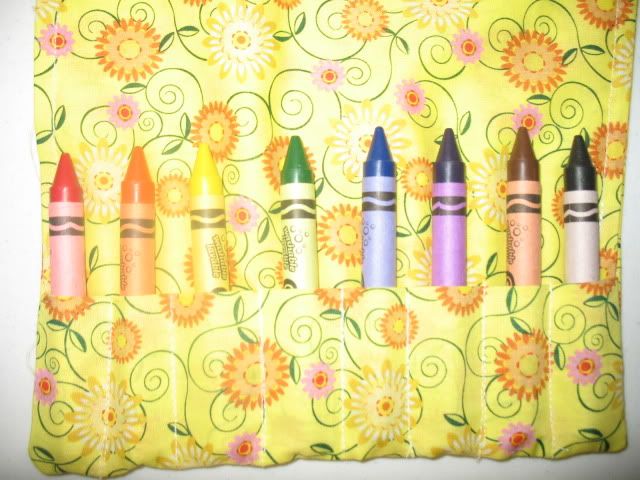
Insert your crayons, and fold down the top, roll it up, and tie it. :)
Here is a rolled one, but it's a different fabric. It was my first try at making a crayon roll.

I hope this isn't too confusing. I will try my best to answer any questions you may have.
No comments:
Post a Comment