Wednesday, September 21, 2011

How to prepare Fresh pumpkin for Pumpkin pies

I was taught how to do this a while back, and as I was preparing it today, I thought I'd share with you all as well. Ever since I tasted my first pumpkin pie made with fresh pumpkin, I just cannot bring myself to buy the canned stuff. Yuck!

Also, before I start, this method works well with other things too, like squash. I've used it to prepare homemade pureed squash for my daughter.

Let's get started!!

What you'll need:
A pie pumpkin
A baking sheet
Aluminum foil
Hand blender or food processor
Knife
Spoon
Patience!

Preheat your oven to 350.

Start with your pie pumpkin, this is what it looks like if you don't know. They are smaller than regular Jack-o-Lantern pumpkins.


Break off the stem(this is where the patience comes in!) and cut it in half.


 Using a spoon, scoop out all of those seeds and the stringy stuff.


Nice and clean(well for the most part.) Now, line your baking sheet with aluminum foil and place the halves cut side down.


Bake for 45 minutes-1 hour. They should be darker like this. Let them cool before removing from the baking sheet, and watch out for steam burns.


Using a clean spoon, scoop out the flesh into a bowl, it should leave a shell like this.


The flesh will be clumpy like this.


Using an immersion blender, or food processor, puree into a smooth consistency.


One pumpkin yields about 2.5 - 3 cups of pumpkin. Substitute for canned pumpkin in recipes!

Wednesday, June 1, 2011

Fat Quarter Purse by Lauren Brandy

A friend shared this really cute fat quarter purse pattern with me. I'm always up for ways to use my fat quarters. I buy them like a mad woman, and then never end up finding a use for them. This is the perfect project.

The tutorial I followed is here: http://www.cutoutandkeep.net/projects/fat_quarter_purses

**Note: This is not my pattern or my instructions. I'm just re-posting it here with my own interpretation of the instructions, and my own photos. I am not claiming in any way that this is my own creation. Also, thank you to Lauren Brandy for such a cute little tote, and thank you to Honie for sharing this with me!

What you'll need:
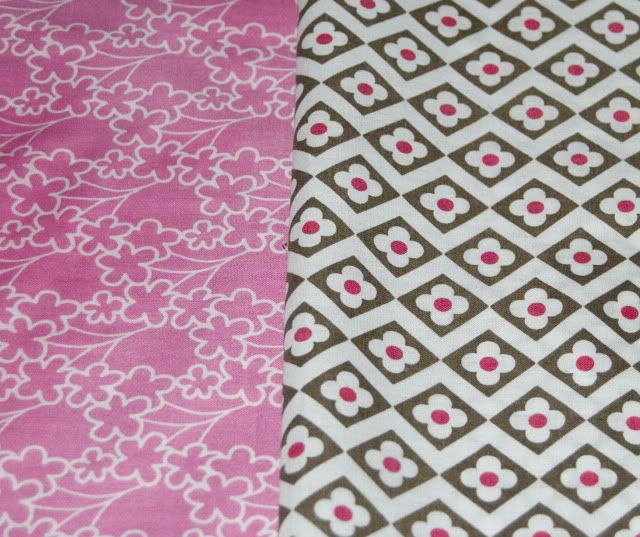
2 contrasting fat quarters
Rotary cutter, mat, and straight edge
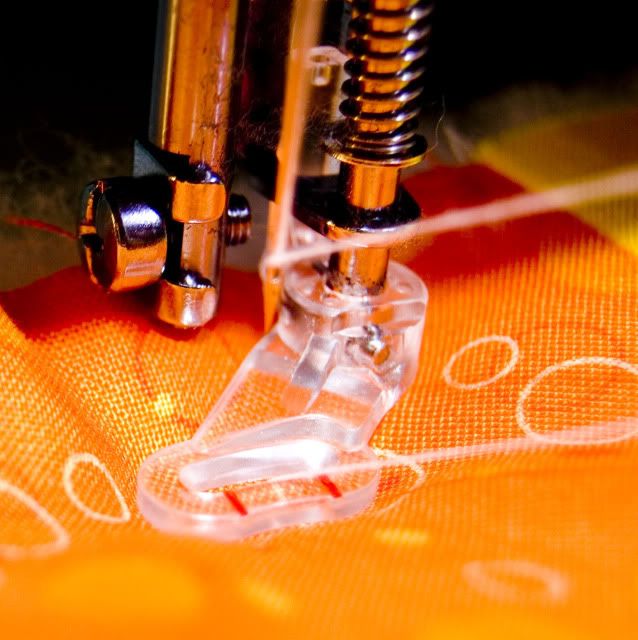
Sewing machine
Ironing board and iron
Pins

Step 1:
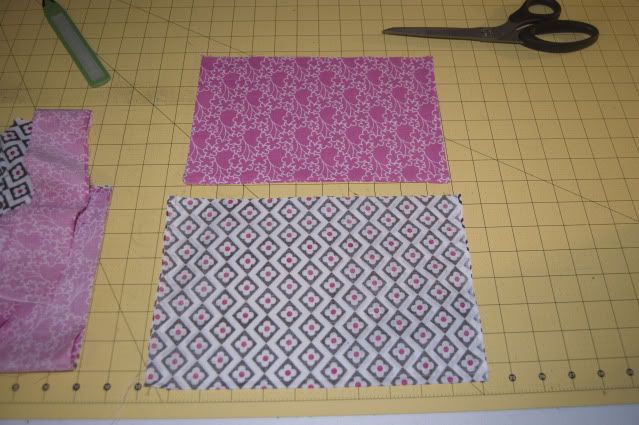
Iron your fat quarters to remove any wrinkles, and fold them in half so that they are 9"x22" with the right sides together. (Yes, I know mine are right sides out, but it was for illustration purposes. The pink will be my outside fabric, and the white will be my lining fabric.)
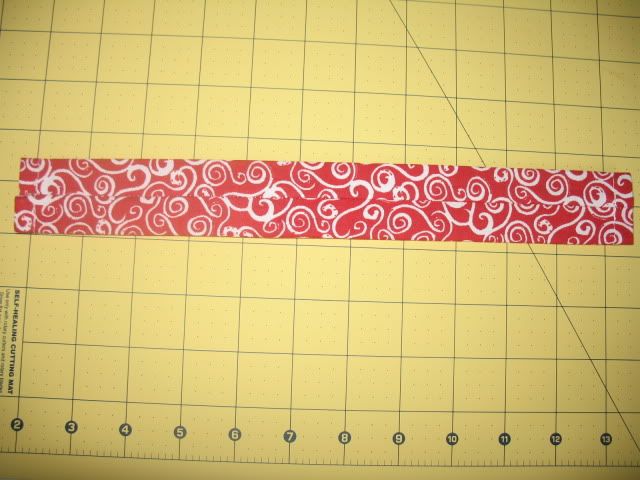

Step 2:
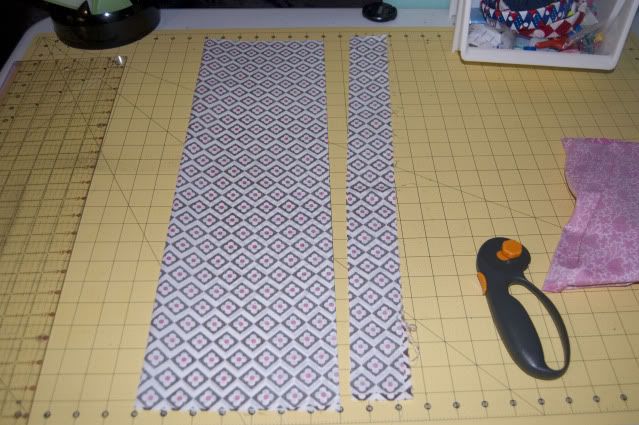
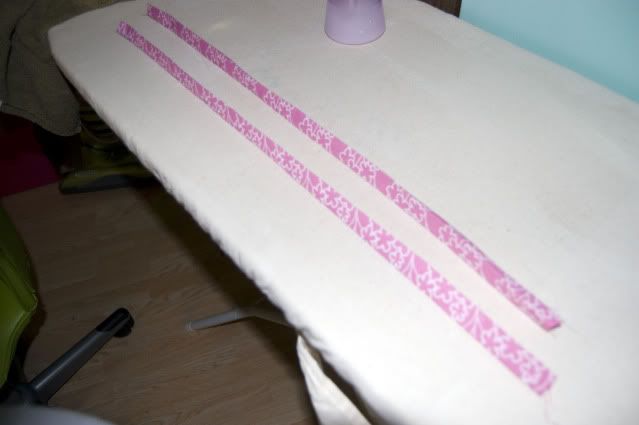
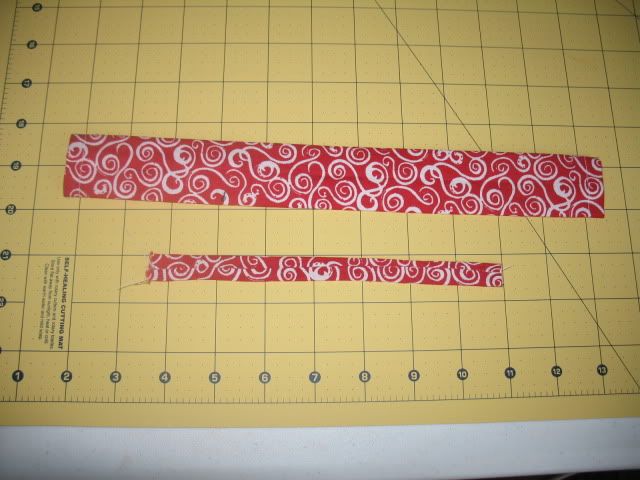
Cut a 2" strip from the open edge(not the folded edge) of the fabric. This will become your handles. Set aside for now.

Step 3: 
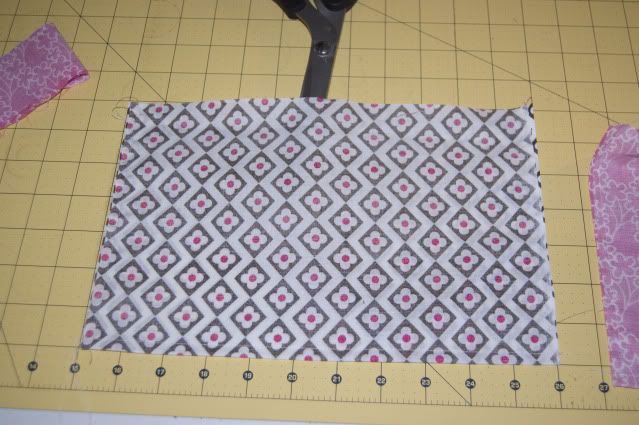
Cut the remaining fat quarter in half. You should now have 2 pieces that are 7"x11"(still folded!)


Step 4:
Repeat for the other fat quarter. You should have 2 lining pieces, 2 outside pieces, and 2 sets of handles. (sorry, no pic of all the pieces)

Step 5:
Keeping your lining piece folded, sew along the two shorter sides, and along the bottom(where the fold is!) Use a 1/4" seam. (**Side note: You don't have to sew along the bottom, since it's folded, it's just helpful when trying to make nice corners. Either way is fine.)
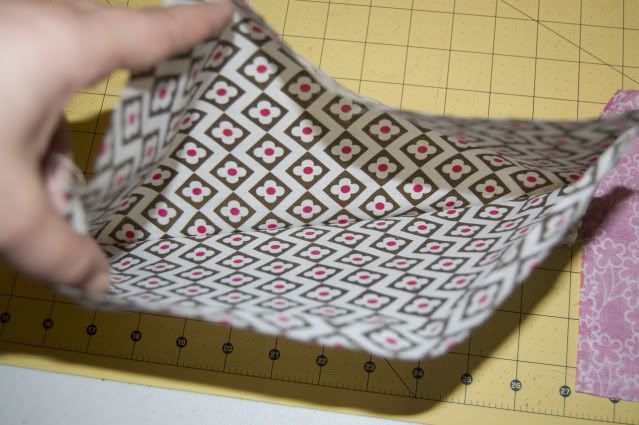

And the inside:

Repeat for the outside pieces.

Step 6:
Turn your outside pieces right sides out, and iron flat. Be sure to poke out the corners.
**Side Note: Now is the time to check and make sure your lining piece will fit inside your outside piece and vice versa. My lining piece was quite a bit larger than my outside piece. To remedy this, I just sewed another seam down one of the short sides, and trimmed away the excess. 

Step 7:
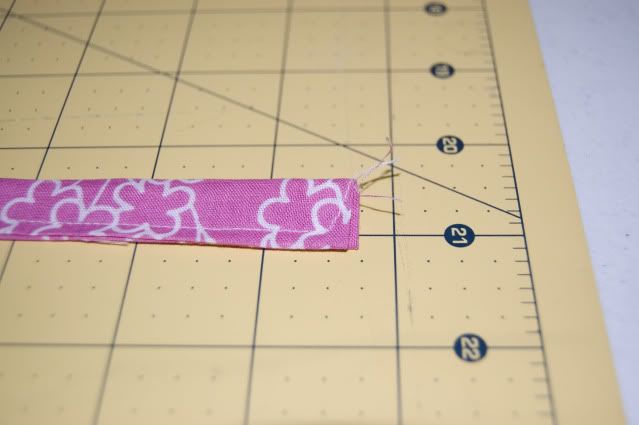
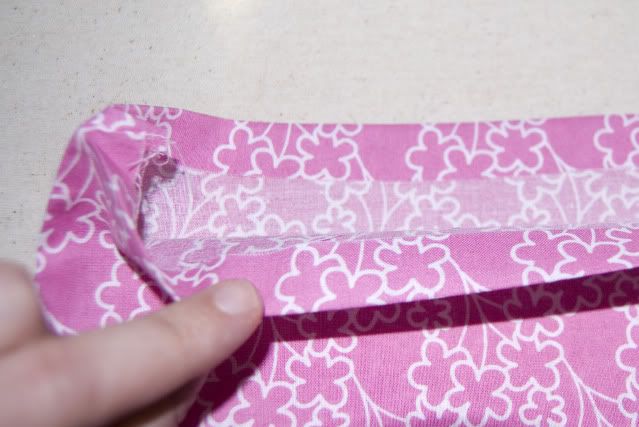
Take your handle pieces, and iron them in half. Unfold, and fold in about 1/2" on the ends, and then iron about 1/4" of the long sides towards the middle. Iron in half again, with all raw edges on the inside. Sew both ends, and the long open edge.


Step 8: 
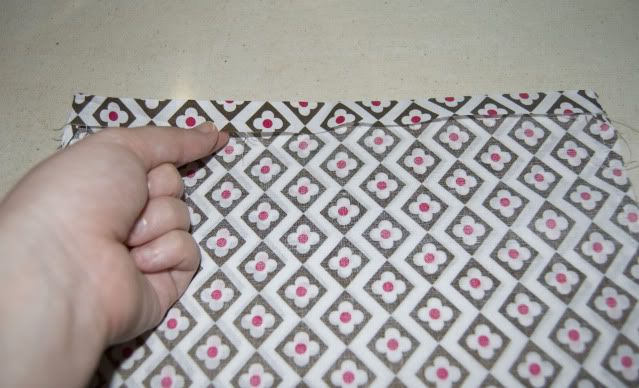
Iron down about 1/2" to 3/4" of the top of your lining piece like your making a hem. Since this piece is still inside out, you'll be turning it towards the outside, putting wrong sides together.


Step 9:
Iron down the same amount on your outside fabric, only turn this towards the inside of the bag.

Step 10:
Almost there, I promise!!

Take your lining piece, still right sides in, and stuff it into the outside piece(still right sides out) and match up the folds you just ironed, as well as the corners, and side seams. *This pic is blurry, and I'm sorry. I didn't notice until I was finished. :(
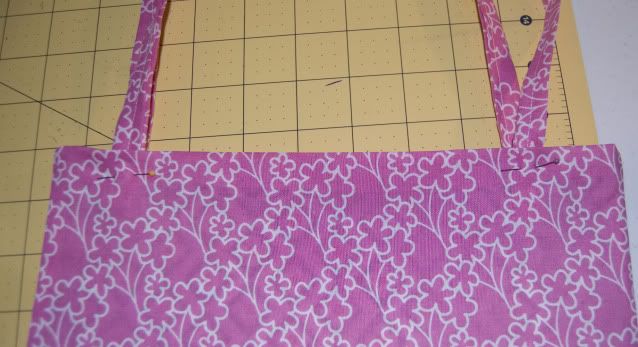

Step 11:
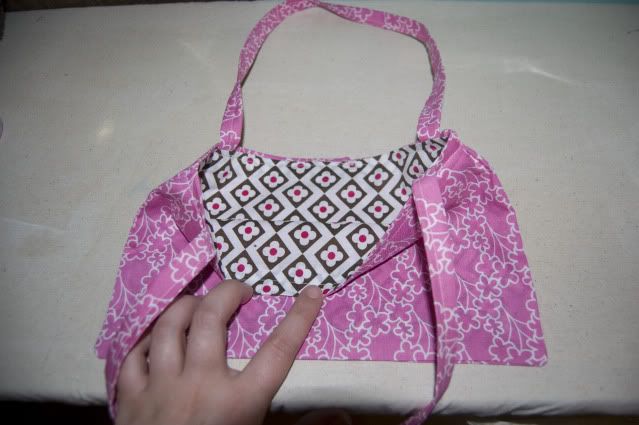
Put handles in place between the 2 layers, and pin. **I hate pinning, with a passion, so this is the ONLY place I used pins. You could also pin all the way around to the top to prevent any shifting.


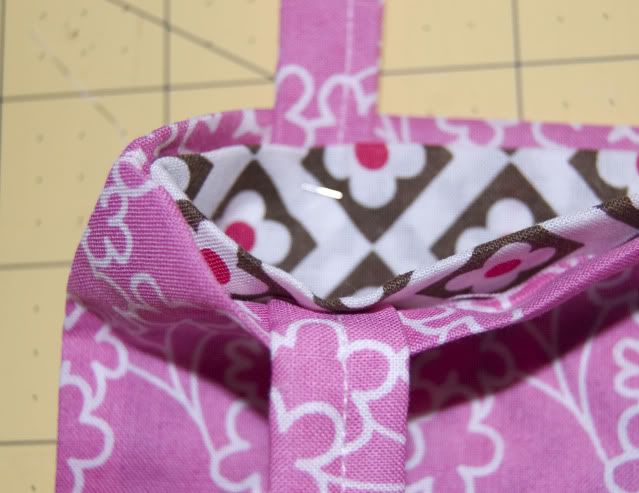
View of the layers from the top:
Step 12:
Sew a seam around the top of the bag, backstitching over the handles to secure them.  Iron flat when done.

Inside: 

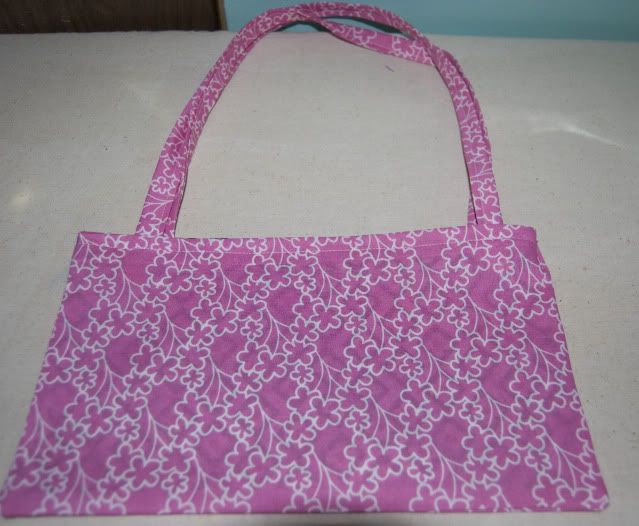
And you're all finished! Lauren suggests adding a cute button or two, which is a fantastic idea. This is just going to be a play purse for my daughter, so I'm skipping the buttons. Repeat with the second set of pieces, and you'll have 2 cute little purses from 2 fat quarters. Not too shabby! :)

Saturday, May 21, 2011

Putting on a Free Motion Quilting Foot, and pulling up the bobbin thread

This is just a short, quick tutorial on how to change your presser foot, and the correct placement of the Free Motion Foot(aka Darning foot) for free motion quilting.

First, your setup will look something like this:
You will want to unscrew the presser foot screw, and take the entire unit off.

Next, you'll want to attach your FM foot, like so:
There is a little bar across the top of the foot. It needs to be above or resting on your needle clamp bar(this depends on the position of the needle. I had it lowered a bit in these photos for illustration purposes)

This is what it looks like from the other side:

To pull up your bobbin thread to the top of the fabric, you'll want to put your quilt in, lower the foot, put the needle down, and hold on to the needle thread:
Then, raise the needle back up, and pull on the needle thread until the bobbin thread comes up through the top of the fabric, pull it out until both tails are one top:
I don't have a picture for this next part, but put the needle thread through the hole in the foot, and pull both threads towards the back so they are out of the way. Do a few small stitches in place, stop with the needle down, and then clip the threads so you don't inadvertently end up dragging them all over your quilting.

I hope this helps! And if you have any questions, you may email me at littlemisskscraftycreations@gmail.com. I do not mind helping! :)

Monday, March 28, 2011

Personalized Formula Can Storage Canisters

While chatting with a friend today, she inquired about making water bottle labels for her upcoming nuptials. I spent a good hour or two playing around in Photoshop working on different designs, just to see if I could make one similar to the ones she liked. This inspired me to make labels for the formula cans I talked about in the last post. Here is how I did it. :)

What you'll need:
An empty and clean formula can
A soft measuring tape
Scissors/rotary cutter/exact o knife
Tape or glue
Paper

1. Measure your can. You'll need both the height and the circumference. My daughter drinks Enfamil Prosobee, and the measurements were 12.5" around and 4.25" tall.

2. Using a photo editing software or other program, design your label to fit within the measurements. I used Photoshop for mine. Then, print out on regular computer paper. If you don't have a program available, you can use some scrap booking paper, just cut it to fit your can.


3. Since my can was bigger around than my paper, I had to cut filler strips. I just taped these down on the back of the can, where they wouldn't be seen.

4. Then, I taped down one side of my label, and wrapped tightly around to the other side, and taped it down too. I made sure to keep the edges straight. Since the top was a little taller than needed, I used my exacto knife, and went around the edge to trim it.

I also tested to see how the lid fit, and made sure it still did. And that's it! You're all done!

Here is a couple of finished ones:

Friday, February 4, 2011

All things smocking!

Ok, those of you that know me, know that I consider myself a novice seamstress(for lack of a better word.) I haven't been sewing long(I just got a new machine in July 2010, and it's a basic Brother LX-3125.) So, there are many techniques that I do not know, and was afraid to attempt. However, there is no room in the crafter's world for fear. You need to just jump in and try it! You may surprise yourself. :)

So, I've been having trouble sleeping lately, and that usually ends up being the time that I browse craft blogs, sewing sites, etc. I was recently directed to this site:

http://www.allfreesewing.com/

It has a lot of projects, tips, tricks, and techniques on it, and it's all FREE. So, I browsed around and came across a few smocking tutorials. I love the look of smocked fabric, it makes wonderful children's clothing. I know a few fabric stores sell already smocked fabric by the yard. However, with these wonderful tutorials, I know I will not be paying for smocked fabric anymore!

Onto the smocking.

The first one I'm going to share with you is called knot smocking. It is done by machine, and works up really quickly. I haven't tried this one yet, so I don't have any personal photos. She includes a video, which is really helpful for all you visual learners!

http://grosgrainfabulous.blogspot.com/2010/11/technique-tuesday-knot-smocking.html

I could see myself using this technique on pillows, or even a cape for a Halloween costume.

Next up, is the smocking that you see on the bolts in the fabric stores. It's also known as shirring. I have not attempted this one yet either, as we have been snowed in and I have no elastic thread on hand. It seems really simple though! This would be perfect for those summer dresses.

http://www.rufflesandstuff.com/2010/02/shirring-tutorial.html

The next two are done by hand, require some patience, but they do not take long to work up. I've tried both of these, and really like the result. The best part about all of these smocking techniques? They do not require pleats!!

First up, the honeycomb smocking technique.
http://katafalk.wordpress.com/2010/02/05/honeycomb-smocking-tutorial/

And here is my little swatch, which took me maybe 30 minutes:
Very cute, and very useful!

The second hand smocking technique comes from that same site, and it's called lattice smocking. It requires a bit more patience, and is a little more complicated, but the end result is beautiful!!

http://katafalk.wordpress.com/2010/02/20/lattice-smocking/

And here is my little swatch, which took me slightly longer:


Hopefully, you'll give smocking a try, and add some fun texture to your projects!

Monday, January 10, 2011

Fabric Headbands

My daughter got a cute little pajama set for Christmas, and it came with a little headband and some matching ballet slippers. She's not one to normally keep things in her hair, but she loves this little headband. So, I decided to make them myself, as they didn't appear too hard to make. The measurements for this one produced one too small for her head, but fits my 4 month old pretty well, so I'm sharing it here.

What you'll need:
4"-6" of elastic, I used 1/4" braided. It was 5" unstretched.
Light weight interfacing for the top piece
1 13"x3 1/2" strip of fabric for top
1 7"x 1 1/2" strip of fabric for elastic casing

1. Iron your interfacing onto the top piece, and cut to size.

2. Hem the short sides of the top piece, using a 1/2" hem.


3. Iron the right sides together lengthwise, and sew a 1/4" seam along the long side to form a tube. Turn right side out, and press, with the seam in the middle of the back.


4. Fold your casing piece in half lengthwise, and press. Sew a 1/4" seam down long side, forming a tube. Turn right side out, and press with seam in the middle.


5. Thread elastic through casing, and pin each end into the openings of the top piece.
6. Sew openings closed.


If you want to make it larger, just increase the length of the top piece.

Chicken Tetrazzini - A favorite in our household!!

I just made this the other night at my husband's request, and thought I'd share the recipe here for all of you. My husband LOVES this, and I ate it quite a bit growing up. It's a casserole, and makes a full 9x13 pan. The recipe says 6 servings, but we can get 2 full meals out of it, with multiple helpings.

What you'll need:
1/2 chicken, or 4 chicken breasts - cooked and chunked
8 oz spaghetti - cooked and drained
2 cups chicken broth
1 can cream of mushroom soup
1 can cream of celery soup
1 can cream of chicken soup
1 cup cubed Velveeta
Shredded cheddar and mozarella to top.
I also add a packet of onion soup mix into this, but it's optional!

Preheat oven to 350.

Mix soups and broth well(this is where I add the onion soup mix). Add Velveeta and chicken, mix well. Add spaghetti, and mix well. Pour into a 9x13 baking dish. Top with cheddar and mozarella. Bake uncovered at 350 for 30-40 minutes, or until bubbling.

I hope everyone had a good holiday season. I, for one, am glad it's over!