The tutorial I followed is here: http://www.cutoutandkeep.net/projects/fat_quarter_purses
**Note: This is not my pattern or my instructions. I'm just re-posting it here with my own interpretation of the instructions, and my own photos. I am not claiming in any way that this is my own creation. Also, thank you to Lauren Brandy for such a cute little tote, and thank you to Honie for sharing this with me!
What you'll need:
2 contrasting fat quarters
Rotary cutter, mat, and straight edge
Sewing machine
Ironing board and iron
Pins
Step 1:
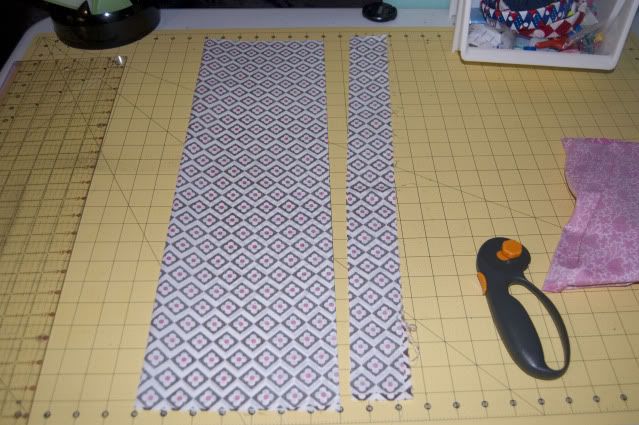
Iron your fat quarters to remove any wrinkles, and fold them in half so that they are 9"x22" with the right sides together. (Yes, I know mine are right sides out, but it was for illustration purposes. The pink will be my outside fabric, and the white will be my lining fabric.)
Step 2:
Cut a 2" strip from the open edge(not the folded edge) of the fabric. This will become your handles. Set aside for now.
Step 3:
Cut the remaining fat quarter in half. You should now have 2 pieces that are 7"x11"(still folded!)
Repeat for the other fat quarter. You should have 2 lining pieces, 2 outside pieces, and 2 sets of handles. (sorry, no pic of all the pieces)
Step 5:
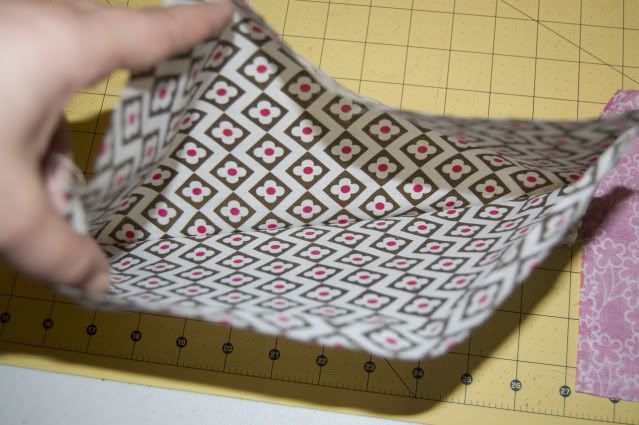
Keeping your lining piece folded, sew along the two shorter sides, and along the bottom(where the fold is!) Use a 1/4" seam. (**Side note: You don't have to sew along the bottom, since it's folded, it's just helpful when trying to make nice corners. Either way is fine.)
And the inside:
Repeat for the outside pieces.
Step 6:
Turn your outside pieces right sides out, and iron flat. Be sure to poke out the corners.
**Side Note: Now is the time to check and make sure your lining piece will fit inside your outside piece and vice versa. My lining piece was quite a bit larger than my outside piece. To remedy this, I just sewed another seam down one of the short sides, and trimmed away the excess.
Step 7:
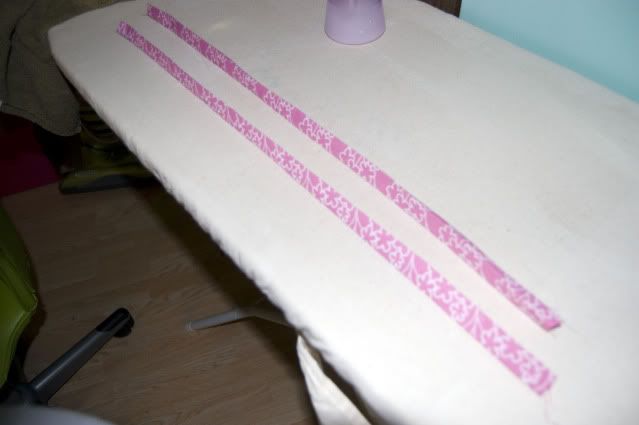
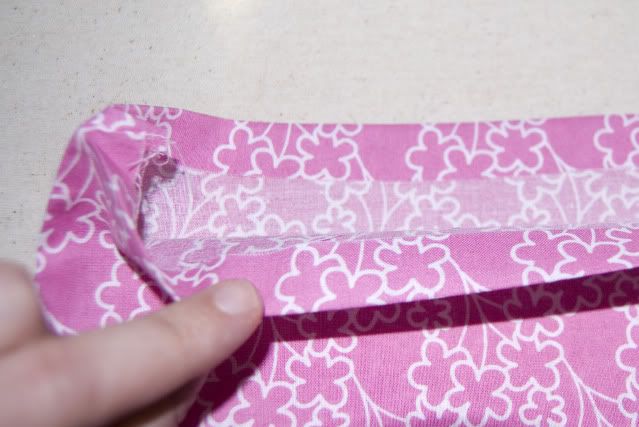
Take your handle pieces, and iron them in half. Unfold, and fold in about 1/2" on the ends, and then iron about 1/4" of the long sides towards the middle. Iron in half again, with all raw edges on the inside. Sew both ends, and the long open edge.
Step 8:
Iron down about 1/2" to 3/4" of the top of your lining piece like your making a hem. Since this piece is still inside out, you'll be turning it towards the outside, putting wrong sides together.
Step 9:
Iron down the same amount on your outside fabric, only turn this towards the inside of the bag.
Step 10:
Almost there, I promise!!
Take your lining piece, still right sides in, and stuff it into the outside piece(still right sides out) and match up the folds you just ironed, as well as the corners, and side seams. *This pic is blurry, and I'm sorry. I didn't notice until I was finished. :(
Step 11:
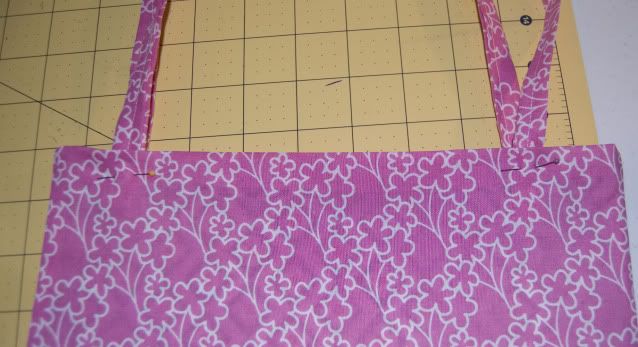
Put handles in place between the 2 layers, and pin. **I hate pinning, with a passion, so this is the ONLY place I used pins. You could also pin all the way around to the top to prevent any shifting.
View of the layers from the top:
Step 12:Sew a seam around the top of the bag, backstitching over the handles to secure them. Iron flat when done.
Inside:
And you're all finished! Lauren suggests adding a cute button or two, which is a fantastic idea. This is just going to be a play purse for my daughter, so I'm skipping the buttons. Repeat with the second set of pieces, and you'll have 2 cute little purses from 2 fat quarters. Not too shabby! :)










You rock! Thank you so much, it all makes perfect sense!!!
ReplyDeleteOh it was my pleasure! :) I was needing a new blog post, and sometimes, just a simple change of words can provide clarity. Although, I'm not sure how clear those directions are....
ReplyDelete